
Typographical Name logos
My first typographical logo was based around my interest and passion in motorsport e.g Formula 1. I used a typeface that’s similar to what they use in the Formula 1 graphics to present the same concept of the typeface mimicking parts of the racetrack. In ‘N’ for example the letter looks like a chicane from a track, due to its curvature. Moving onto the background choice, I wanted to continue the theme of using elements to reference motorsport. One thing that is used across all motorsports is the safety flag system, which includes green, yellow and red flags. Green means the track is clear and racing can resume. I created a green flag to reference this but to also reference moving forward and the future. I warped my name into the flag shape to show that I am also moving forward into the future. To give the text texture I created a chequered background to mimic the finish line in motorsport.
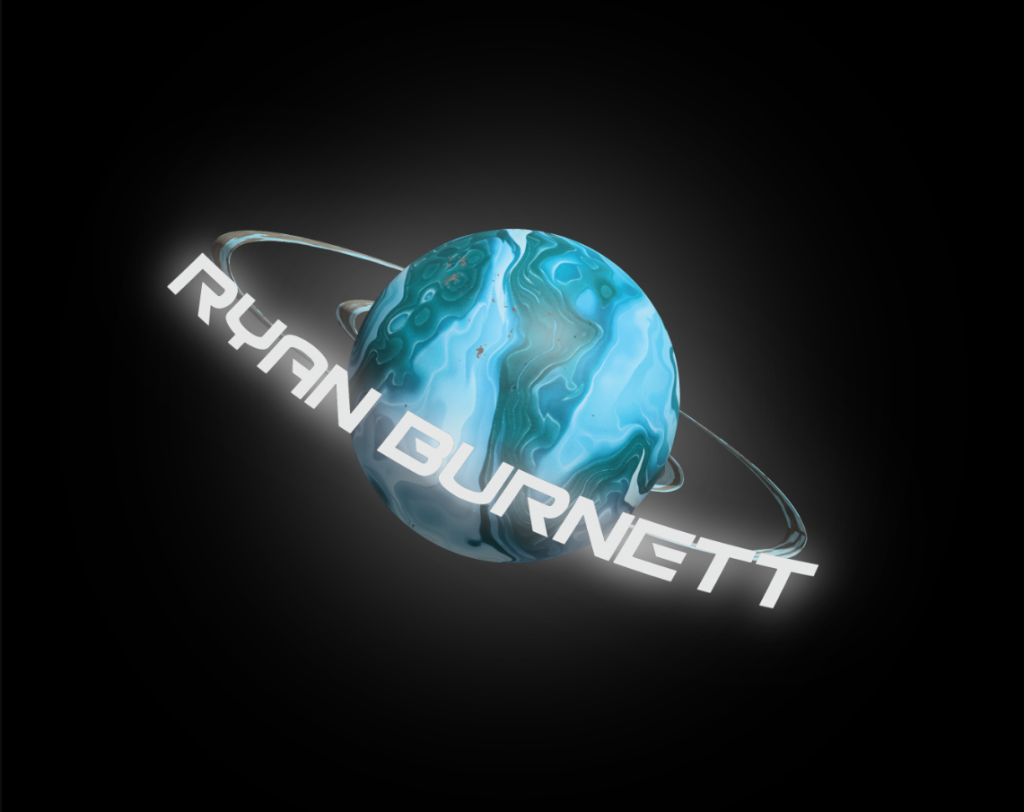
This logo represents my interest in the future and space. I first used illustrator to vectorise a 2D planet, but I wanted to experiment and see if I could make something better. I used the 3D material tool to turn my 2D vector into 3D. I then used and modified a ‘marble’ texture to the planet making it look like a vibrant gas giant that hasn’t been discovered yet. Due to it being a planet I added a black background for realism. When I did this the planet didn’t have much impact against the background, so I added a white outer glow to make the planet stand out much more. I then added my name using a Futuristic typeface and added a white outer glow to that as well. Finally, I used the arc tool to wrap the text around the planet making it look as one.
Conceptually Designed logos
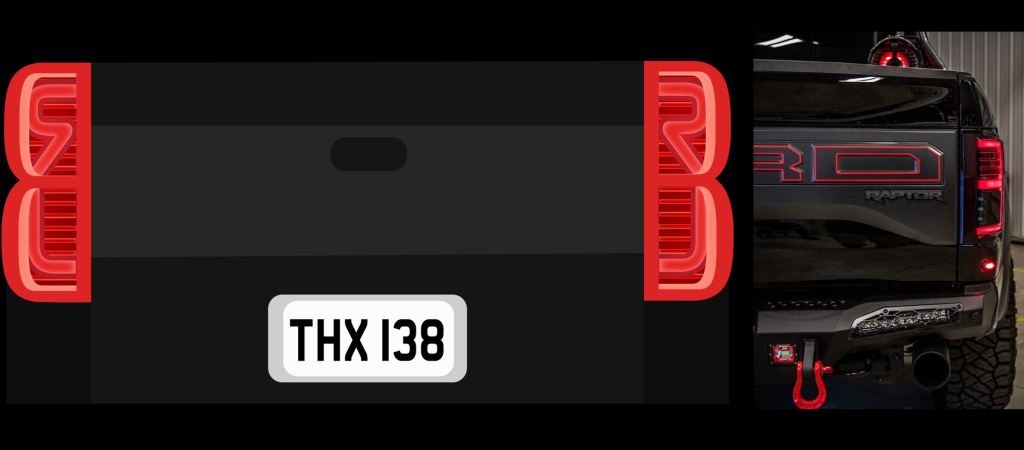
This logo has my initials RJB in it. My thought process with this was that the B looks like a back tailgate light on one of those ford trucks. So, I used a red colour scheme and used lighter shades and shadows to create the luminosity glow that a taillight would have. I stretched out the R and the J so it looked like they connected together to make the inner light and indicator. The typeface I used gave the R a very unique look as the middle doesn’t join up with the stem. This makes people look twice to actually see there are letters there. I used inner glow to give the outline of the taillight a slight gradient for realism as some parts can differ in luminosity. The closer to the middle and the back I got I started to get darker with my colours to try and create a 3D effect, which worked well.
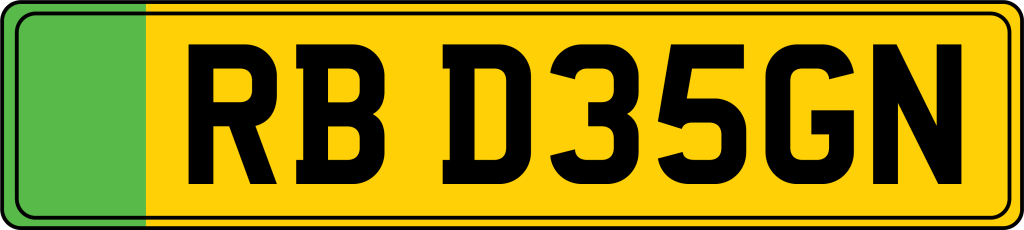
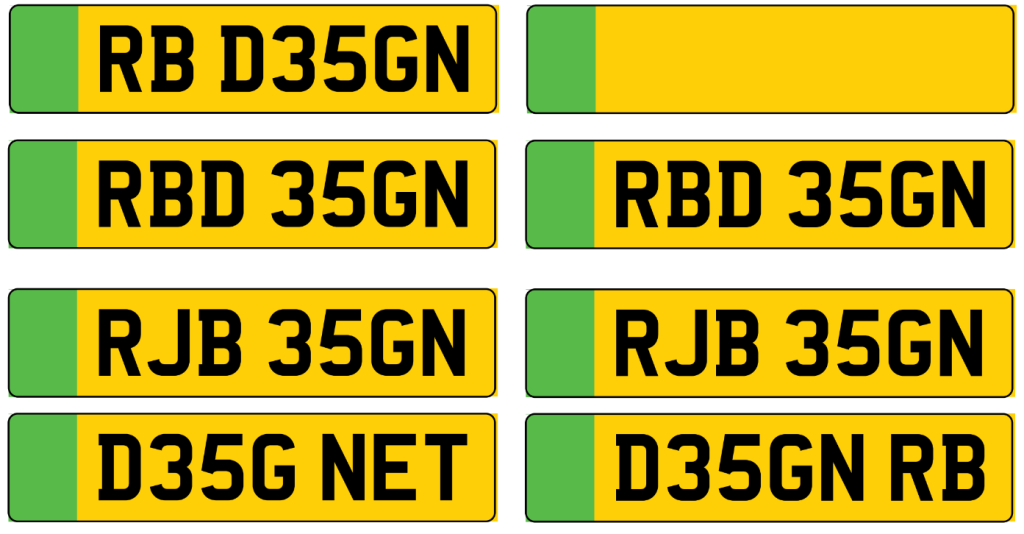
This logo was created through my interest of the future and it being clean. Cars are one of the main causes of pollution and that needs to change in the future. So, as a car enthusiast I would show that I still think it’s important to have ‘cleaner’ cars. This is why I have chosen to do an electric licence plate with my name abbreviated in the style of letters and numbers. I made many different variations of my initials with the word ‘design’. As Licence plates have numbers and letters, I presented design with 3 and 5 replacing ‘esi’. I found a typeface similar to the one used on real Uk number plates to not only show realism but because the bold distinct lettering helps to contrast against the plate. The Pantone colour swatches were used to find a vibrant yellow and green that’s similar to the colour in real life.
Adobe Photoshop Portraits
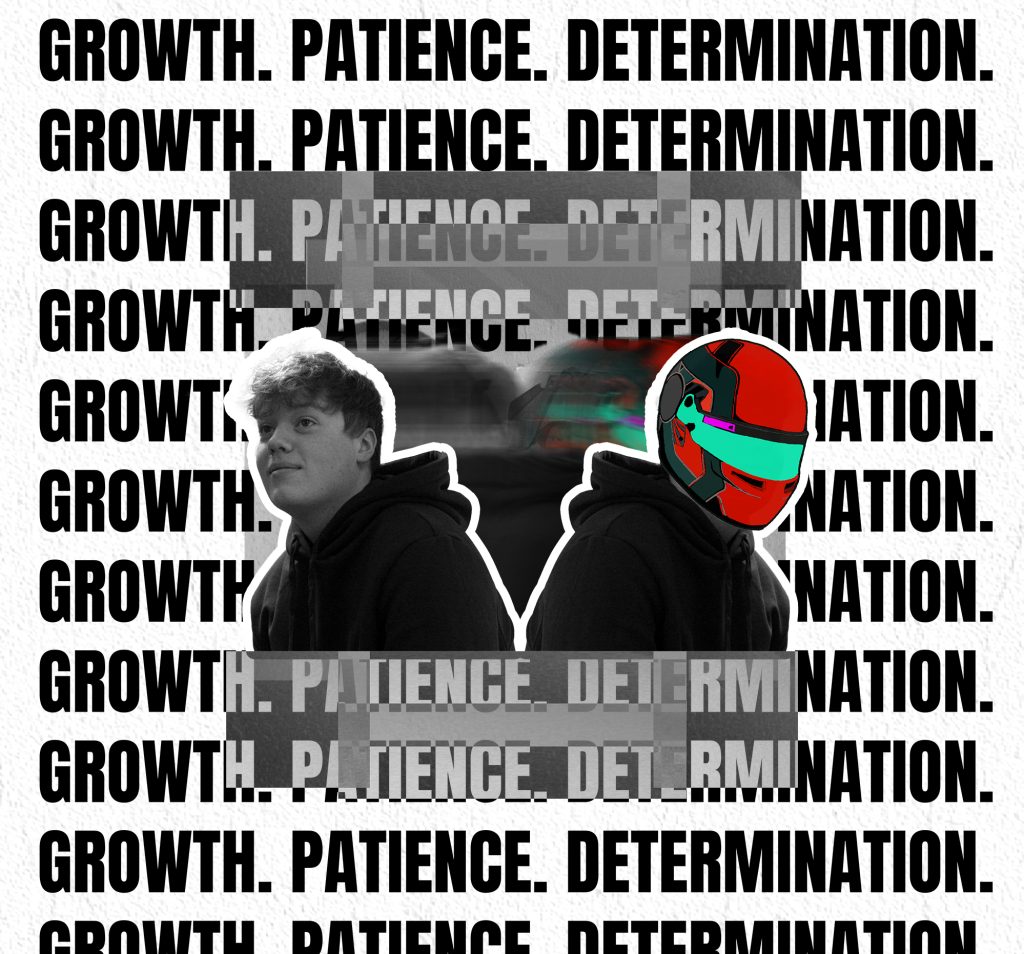
This photoshop Portrait focuses on my dreams to become a racing driver. I duplicated my portrait and flipped it to show two sides of my personality that people may not know. I used an illustration of a racing helmet I created a couple years ago and recoloured it to my favourite colour scheme. The motion blur in the background was made by duplicating the portraits so often, then adding motion blur to them to look like they were moving. I added a white outline to the portraits because it gave them a sticker look which I thought was a unique design, but it also helped the portraits stand out. I then experimented with the the box, adding different shapes, sizes and blend modes. The blending meant when I added the text it gave a unique ‘newspaper’ type tone. The words I used are words that I associate with to make that dream a reality if I wanted to and shows that you have to work hard.
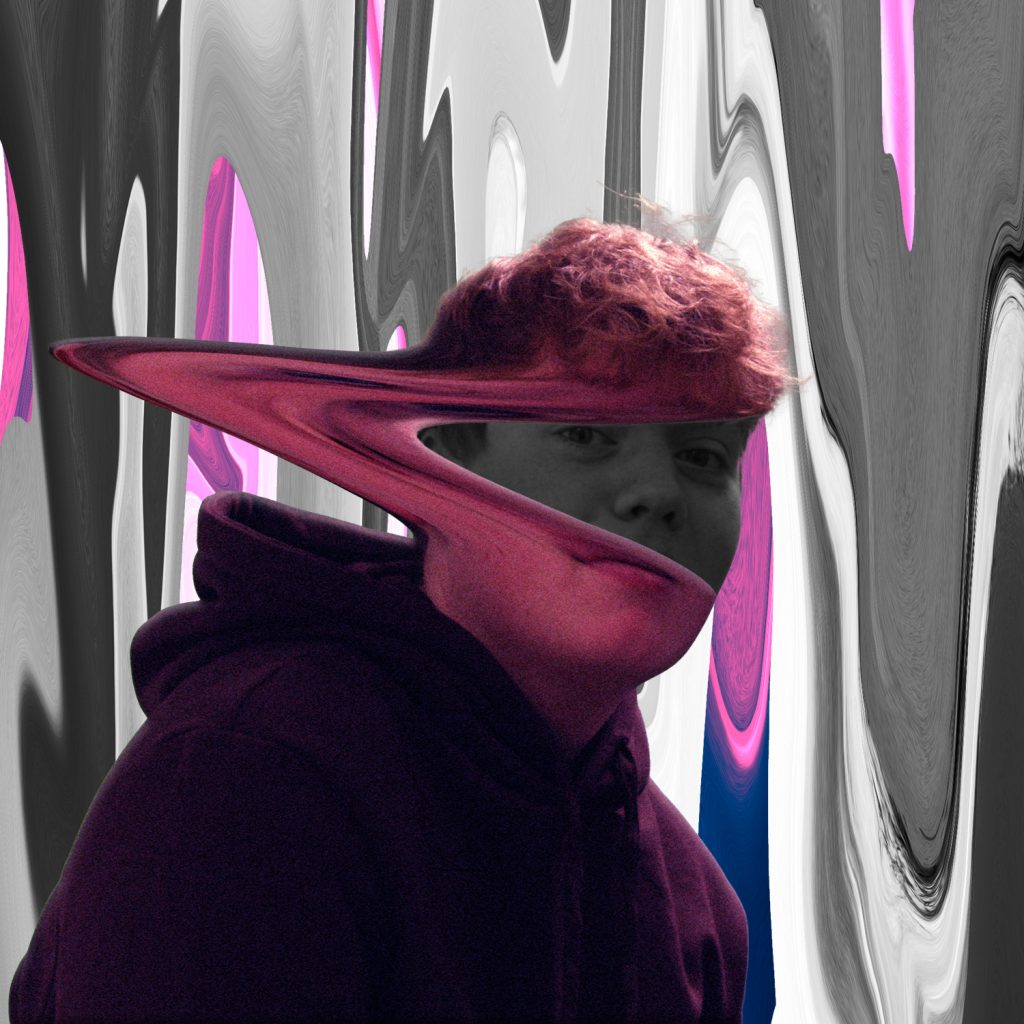
This Portrait was focused on experimentation. The idea behind the portrait is that sometimes someone on the outside could seem full of colour but on the inside, they could be the complete opposite and no one would be able to tell. I first duplicated the portrait and made it black and white. I then used the liquefy tool to pull my face to the side like someone is ripping the mask of my face to show the truth. I added a light pink tone to the portrait to make the tone between light and dark more dramatic. The background was created a similar way by duplicating the portraits and liquefying them into a unique unusual pattern. I overlapped the black and white background with the coloured background to still let light through but to show that the darker colours have more effect.
Adobe Illustrator Portraits
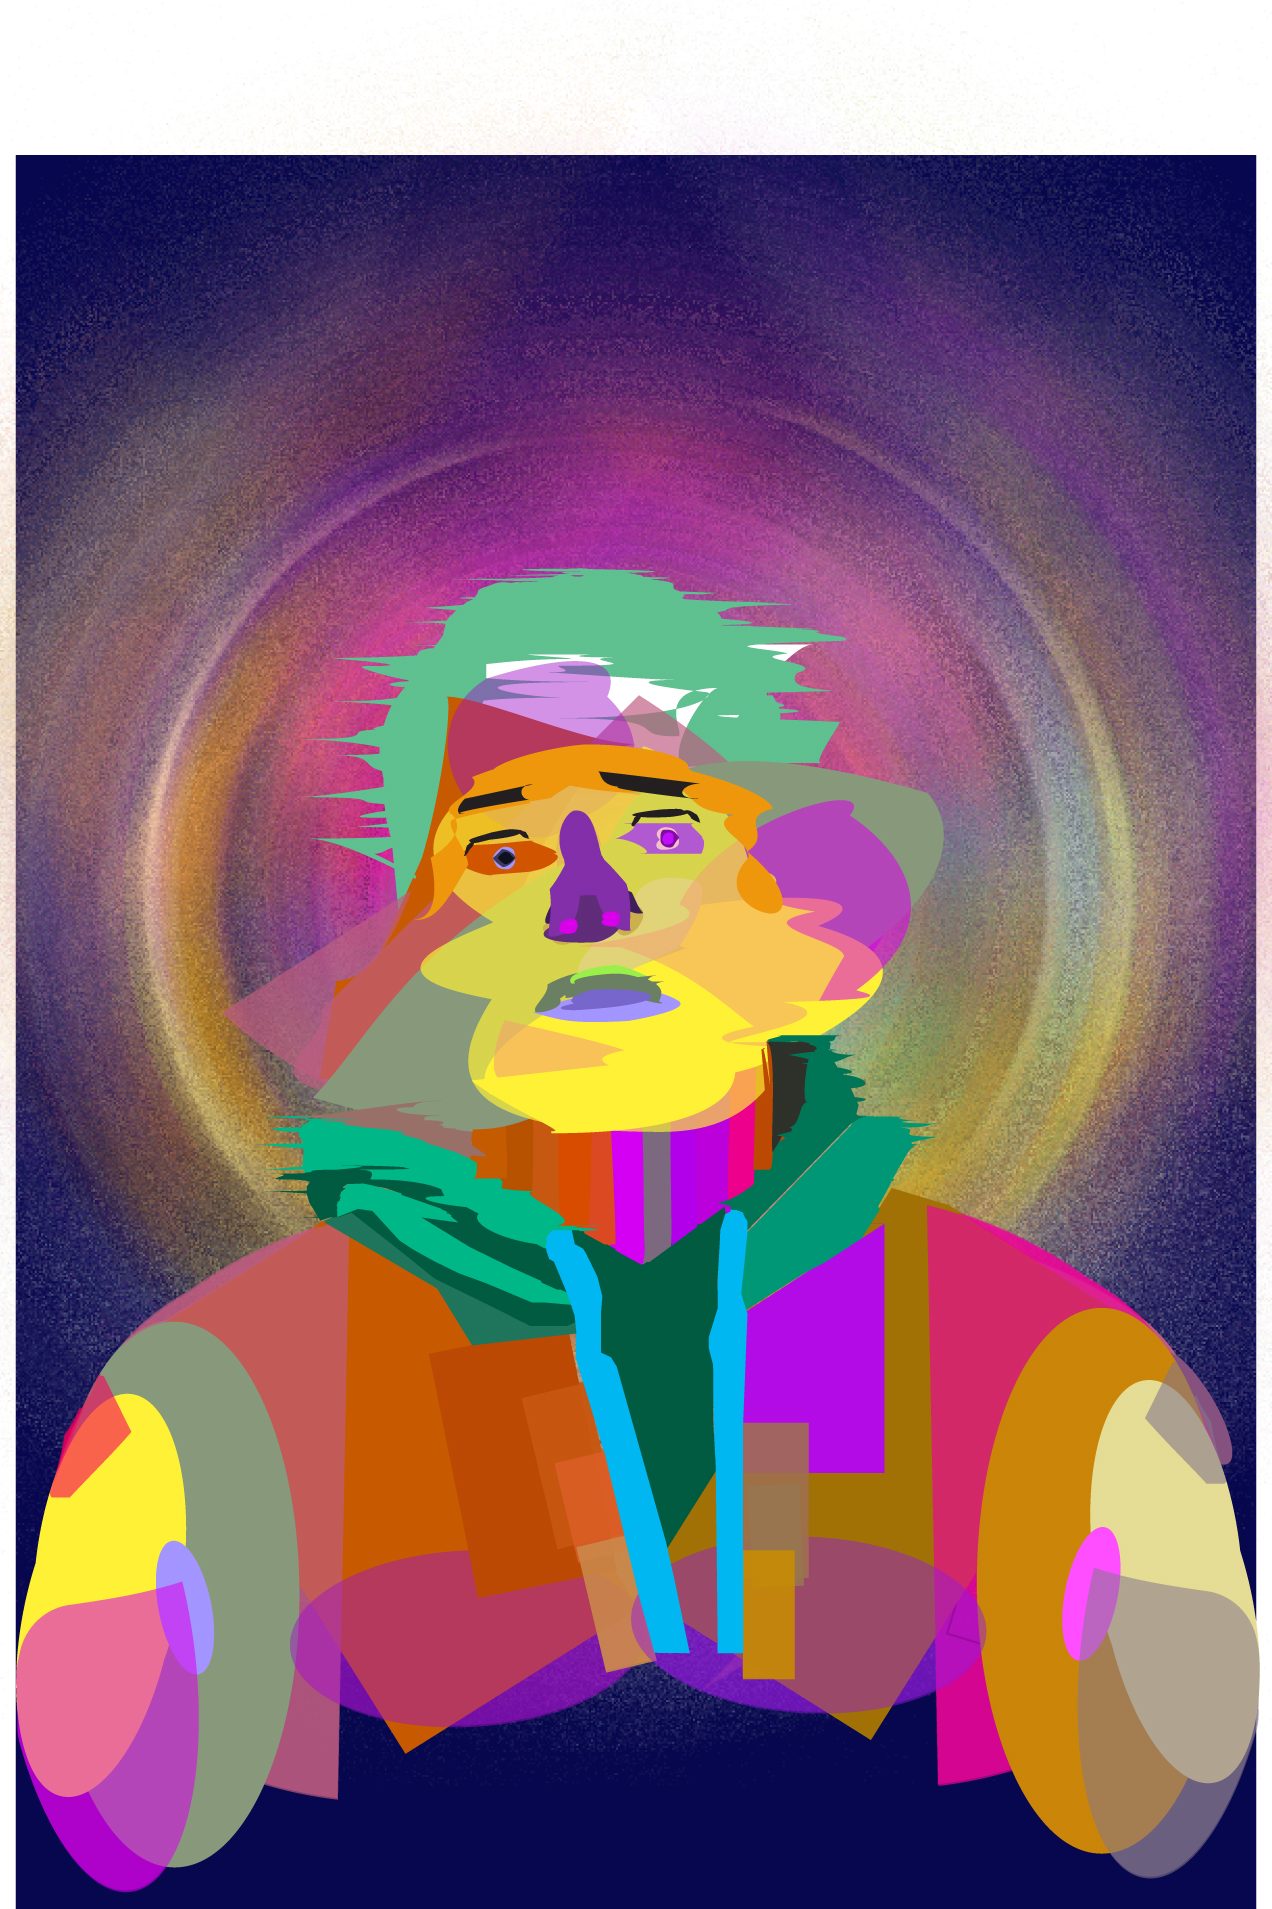
This illustrator Portrait focuses on my creative mind. A various number of different shapes and sizes were used to form my body and head shape. I used vibrant colours only because my mind is full of colour when I’m in my creative mindset, but my thinking processes makes my mind chaotic which is what the various shapes represent. I wanted to represent this chaos in a few ways throughout the portrait. I used a diffuse affect to stretch the head out to make it look like its glitching. The glitch effect works well and shows that the mind is overloading with creativeness. The background colour complimented the variety of colours but it wasn’t enough. So, I duplicated the vector portrait and used radial blur to bring a burst of colour to the background. I then added some grain to make it look like small particles, which I think worked well.
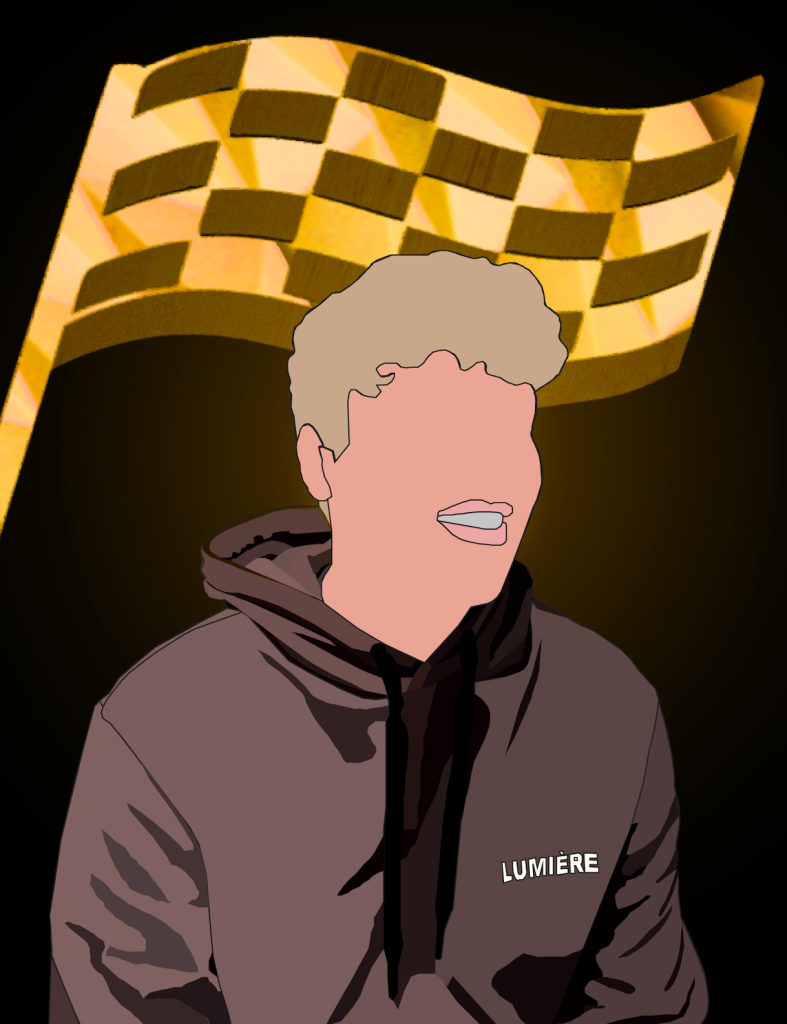
The second Illustrator Portrait focuses on my attributes and dream. I used illustrator to turn a portrait of me into vector art. I focused more on creating the different shades of the hoodie and getting my colour tones right. I didn’t go into much detail with my face because I thought I did a good enough job of the shape of my face and hair that it looks enough like me. I also didn’t want to put all the focus towards my face because I want people to look both at the flag and my portrait not one over the other. I created the chequered flag but I wanted to make it 3D so it stood out more. I used the 3D materials tool to also give it the gold material texture. The flag represents my attributes of being hard working and being a winner as I’m very competitive.
Self Promotional Posters
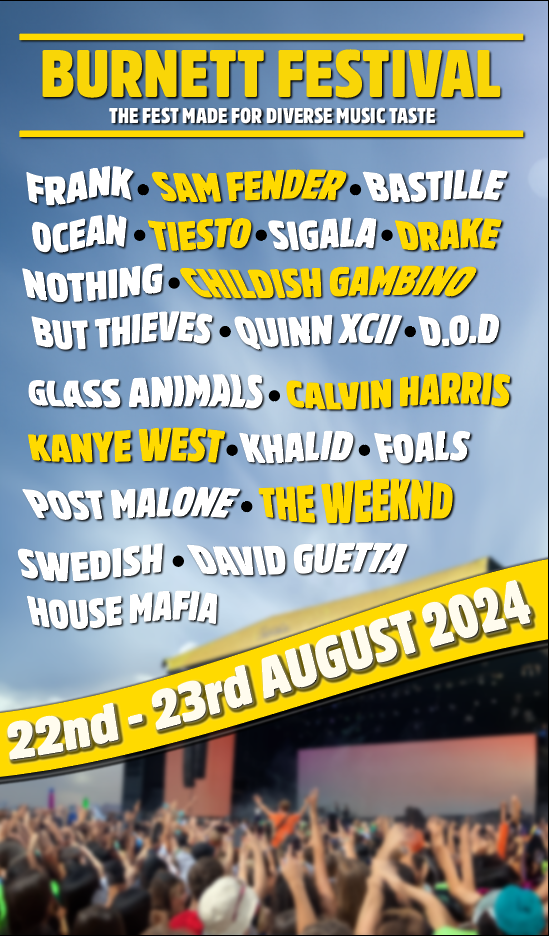
My First Self-promotional Poster was all about my music taste and the artists I listen to the most. The poster shows what a festival would be like if all my artists I listened to attended. I called it the Burnett Festival after my last name because its unique to me as I listen to all these artists. I used a photo that I took when I went to a festival in August, but I extended the sky so I could have lots of room to put the artists names. The bright vibrant yellow worked well against the colour of the sky and made the headliners pop out. The rest of the acts were in white with a drop shadow to make them clearer. I used the flag warp tool and adjusted each artist’s name individually to give them their own unique look, giving the poster a bit of character.
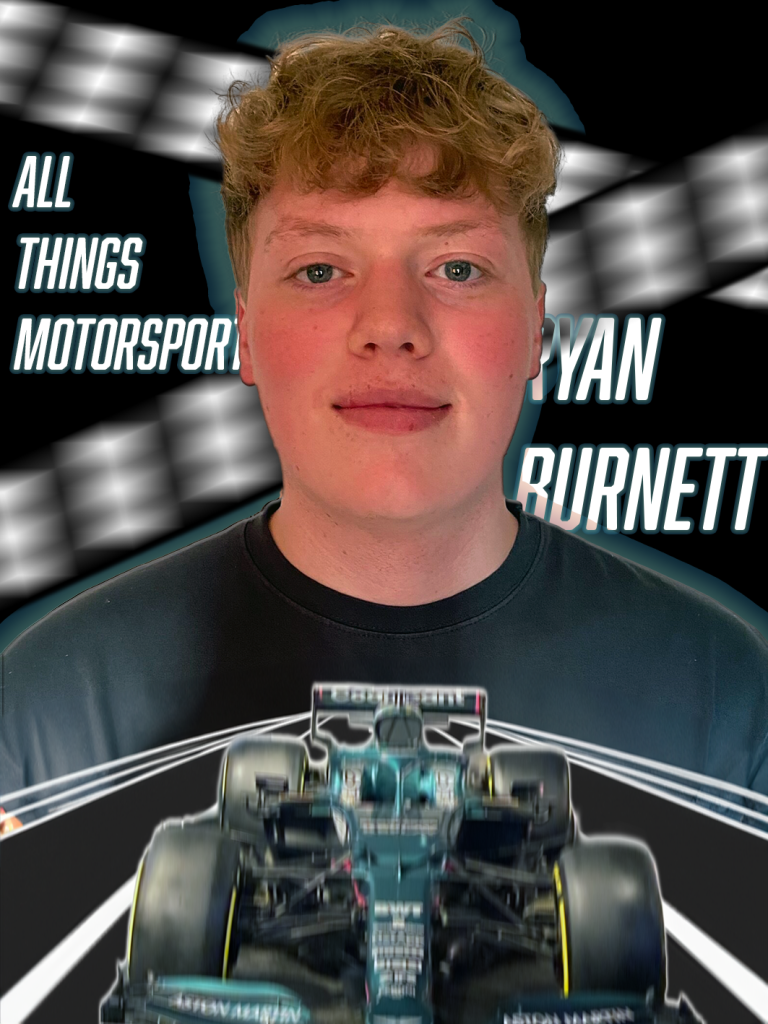
This self-promotional poster is all about my knowledge of motorsport. I used a picture I took of a formula 1 car when I went to Silverstone and added motion blur, so it looked like it was moving fast. I gave it a drop shadow and a white outer glow just so it stood out a bit more. I drew what looks like part of a racetrack that was placed behind the car, so it has a background. With my portrait I also gave that a drop shadow and outer glow but made the colour match the F1 car. I used a sans serifs font with italics and tight kerning to make the text look bold and fast. I also gave that a slight outer glow of green as well. I then created black and white strips to mimic the finish line or the chequered flag and used motion blur to show that it is linked with the car.